
Excuse me, but I’m taking a time out from the Arizona road trip to flash photos from what was going on at our house yesterday. It was the latest step toward having a new work shop built in the back yard for Pedro.
I nerded out completely, and the guys were so accommodating that they let me get right in the middle of their work and take photos, and now I want to show you all I learned about “directional drilling” yesterday.
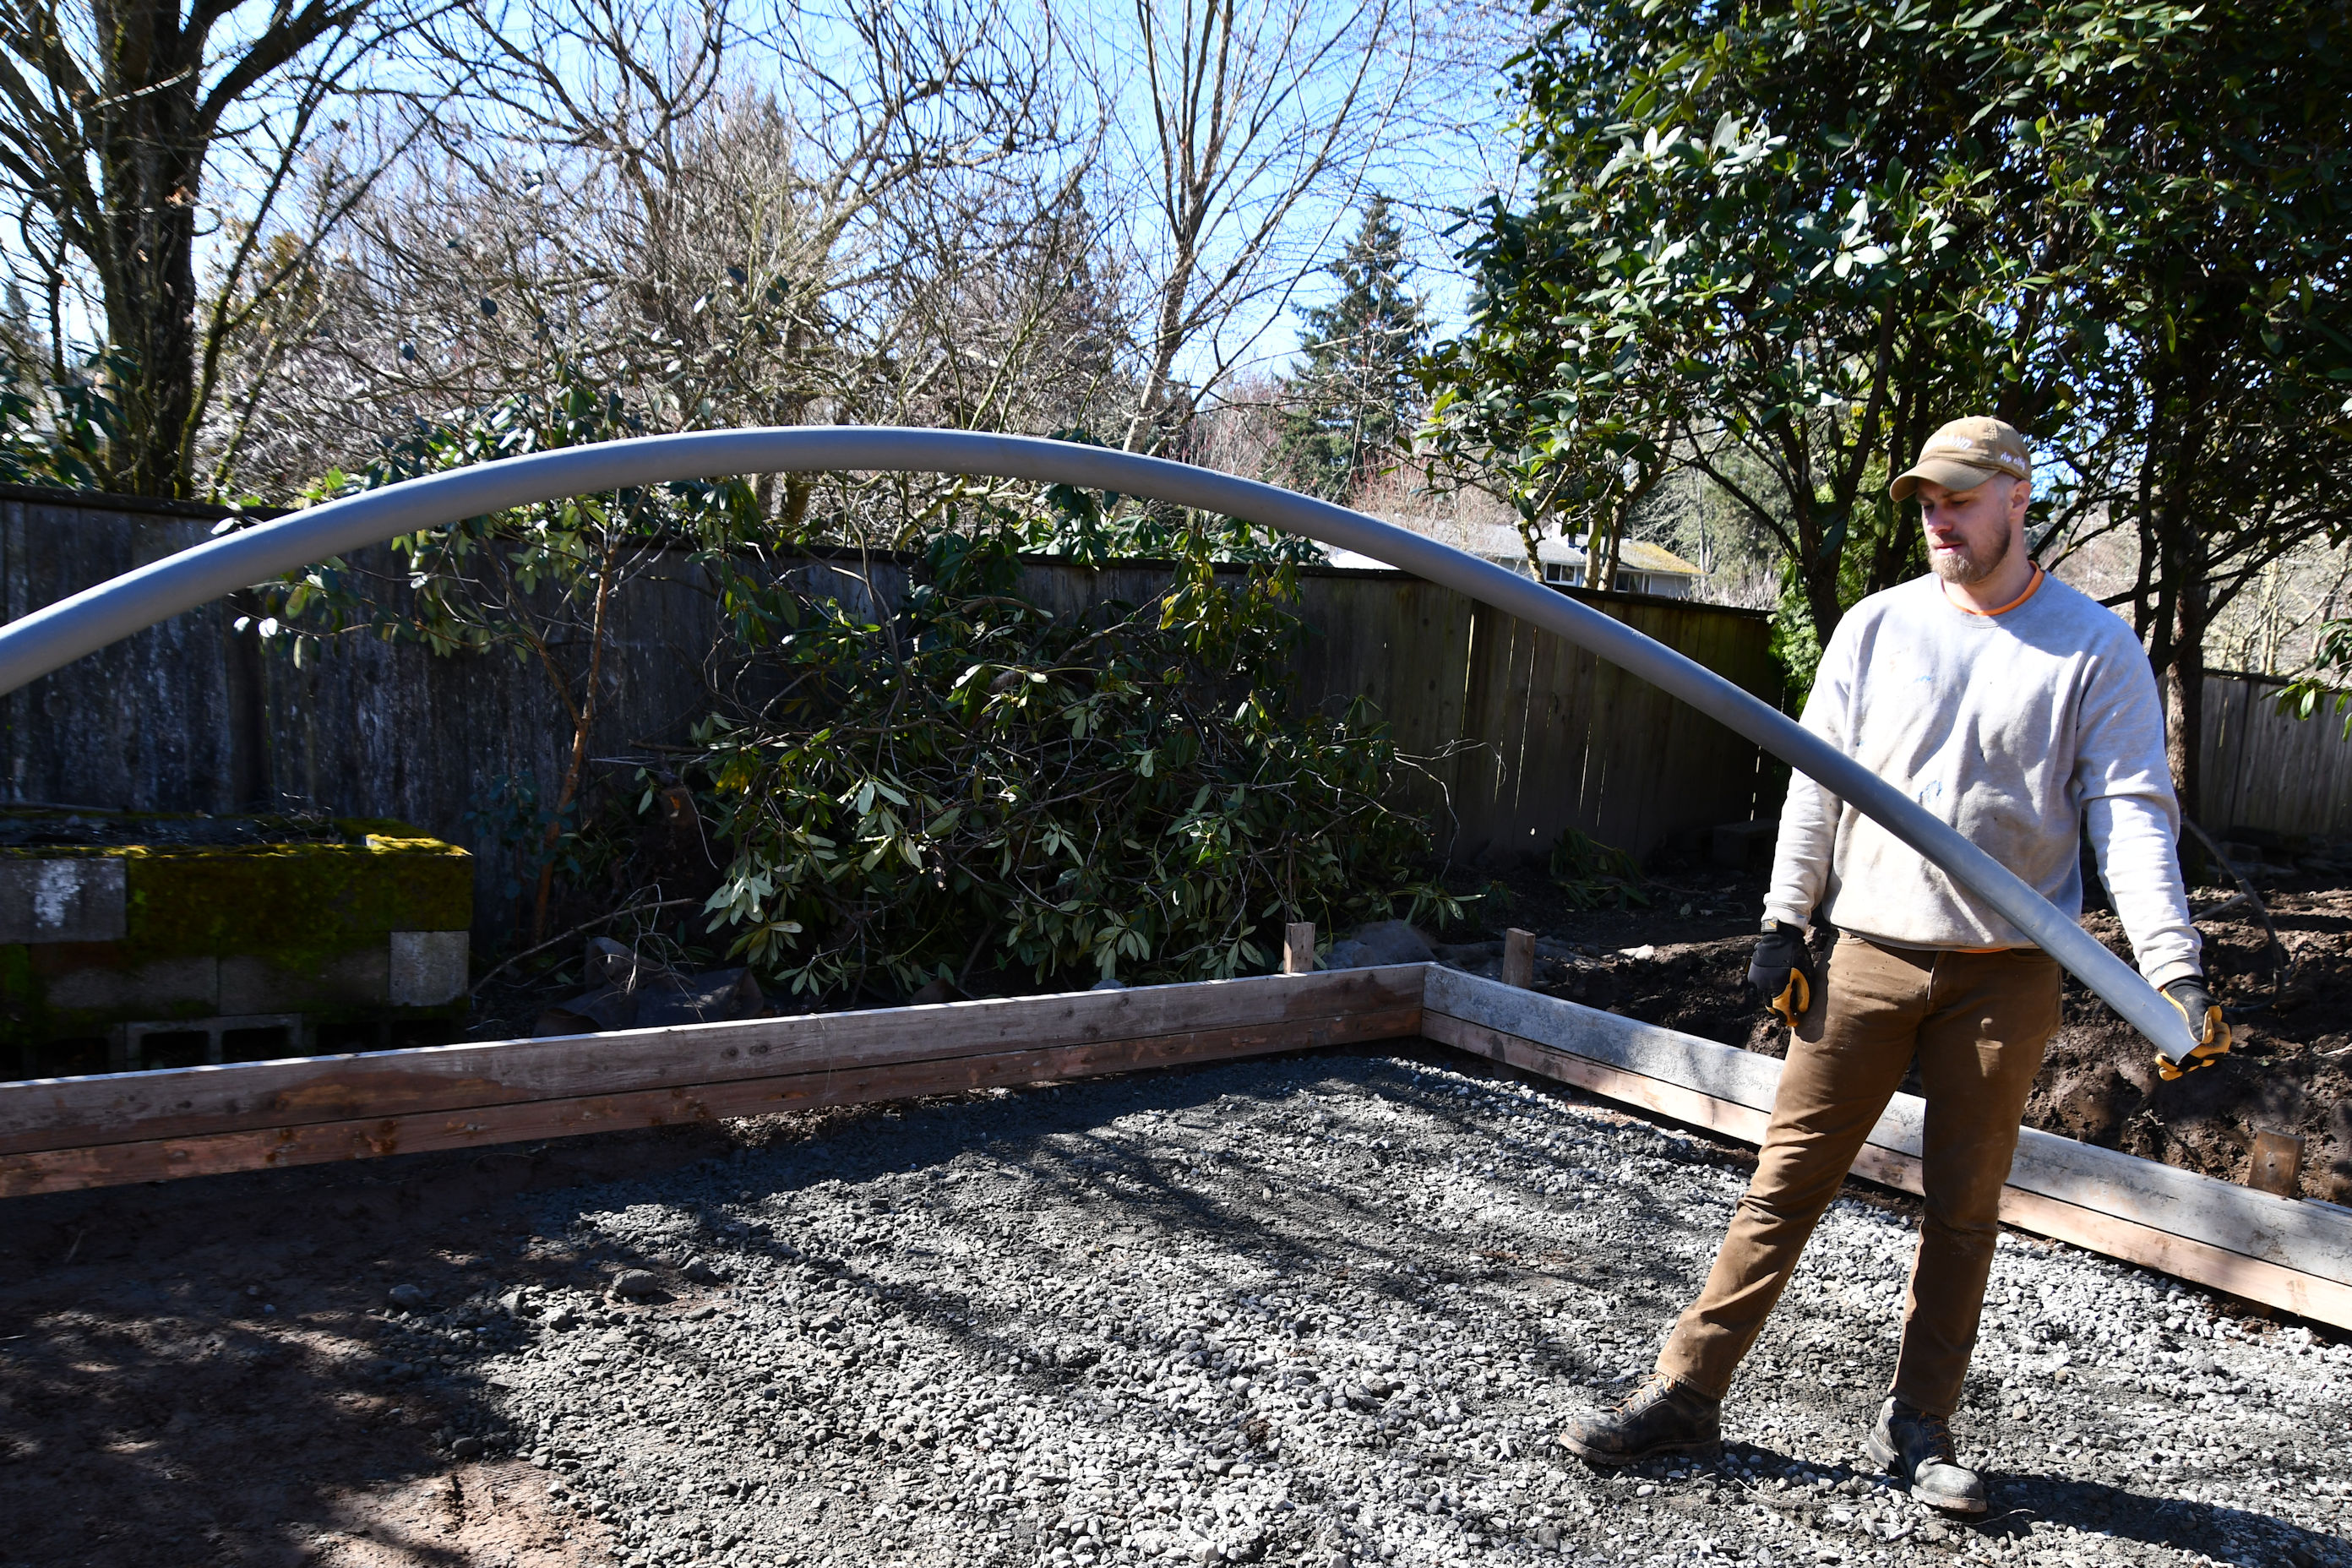
The shop is going at the very back of the lawn. I’ll show you how far back:


The shop will need electricity and so we need to run wires out there. Pedro and I were trying to envision how much removal of flagstones and landscaping would be required, how much back-breaking digging, how to get equipment back there…but our contractor smiled and said, “Oh, we don’t need to worry about any of that. We will be using directional drilling.”

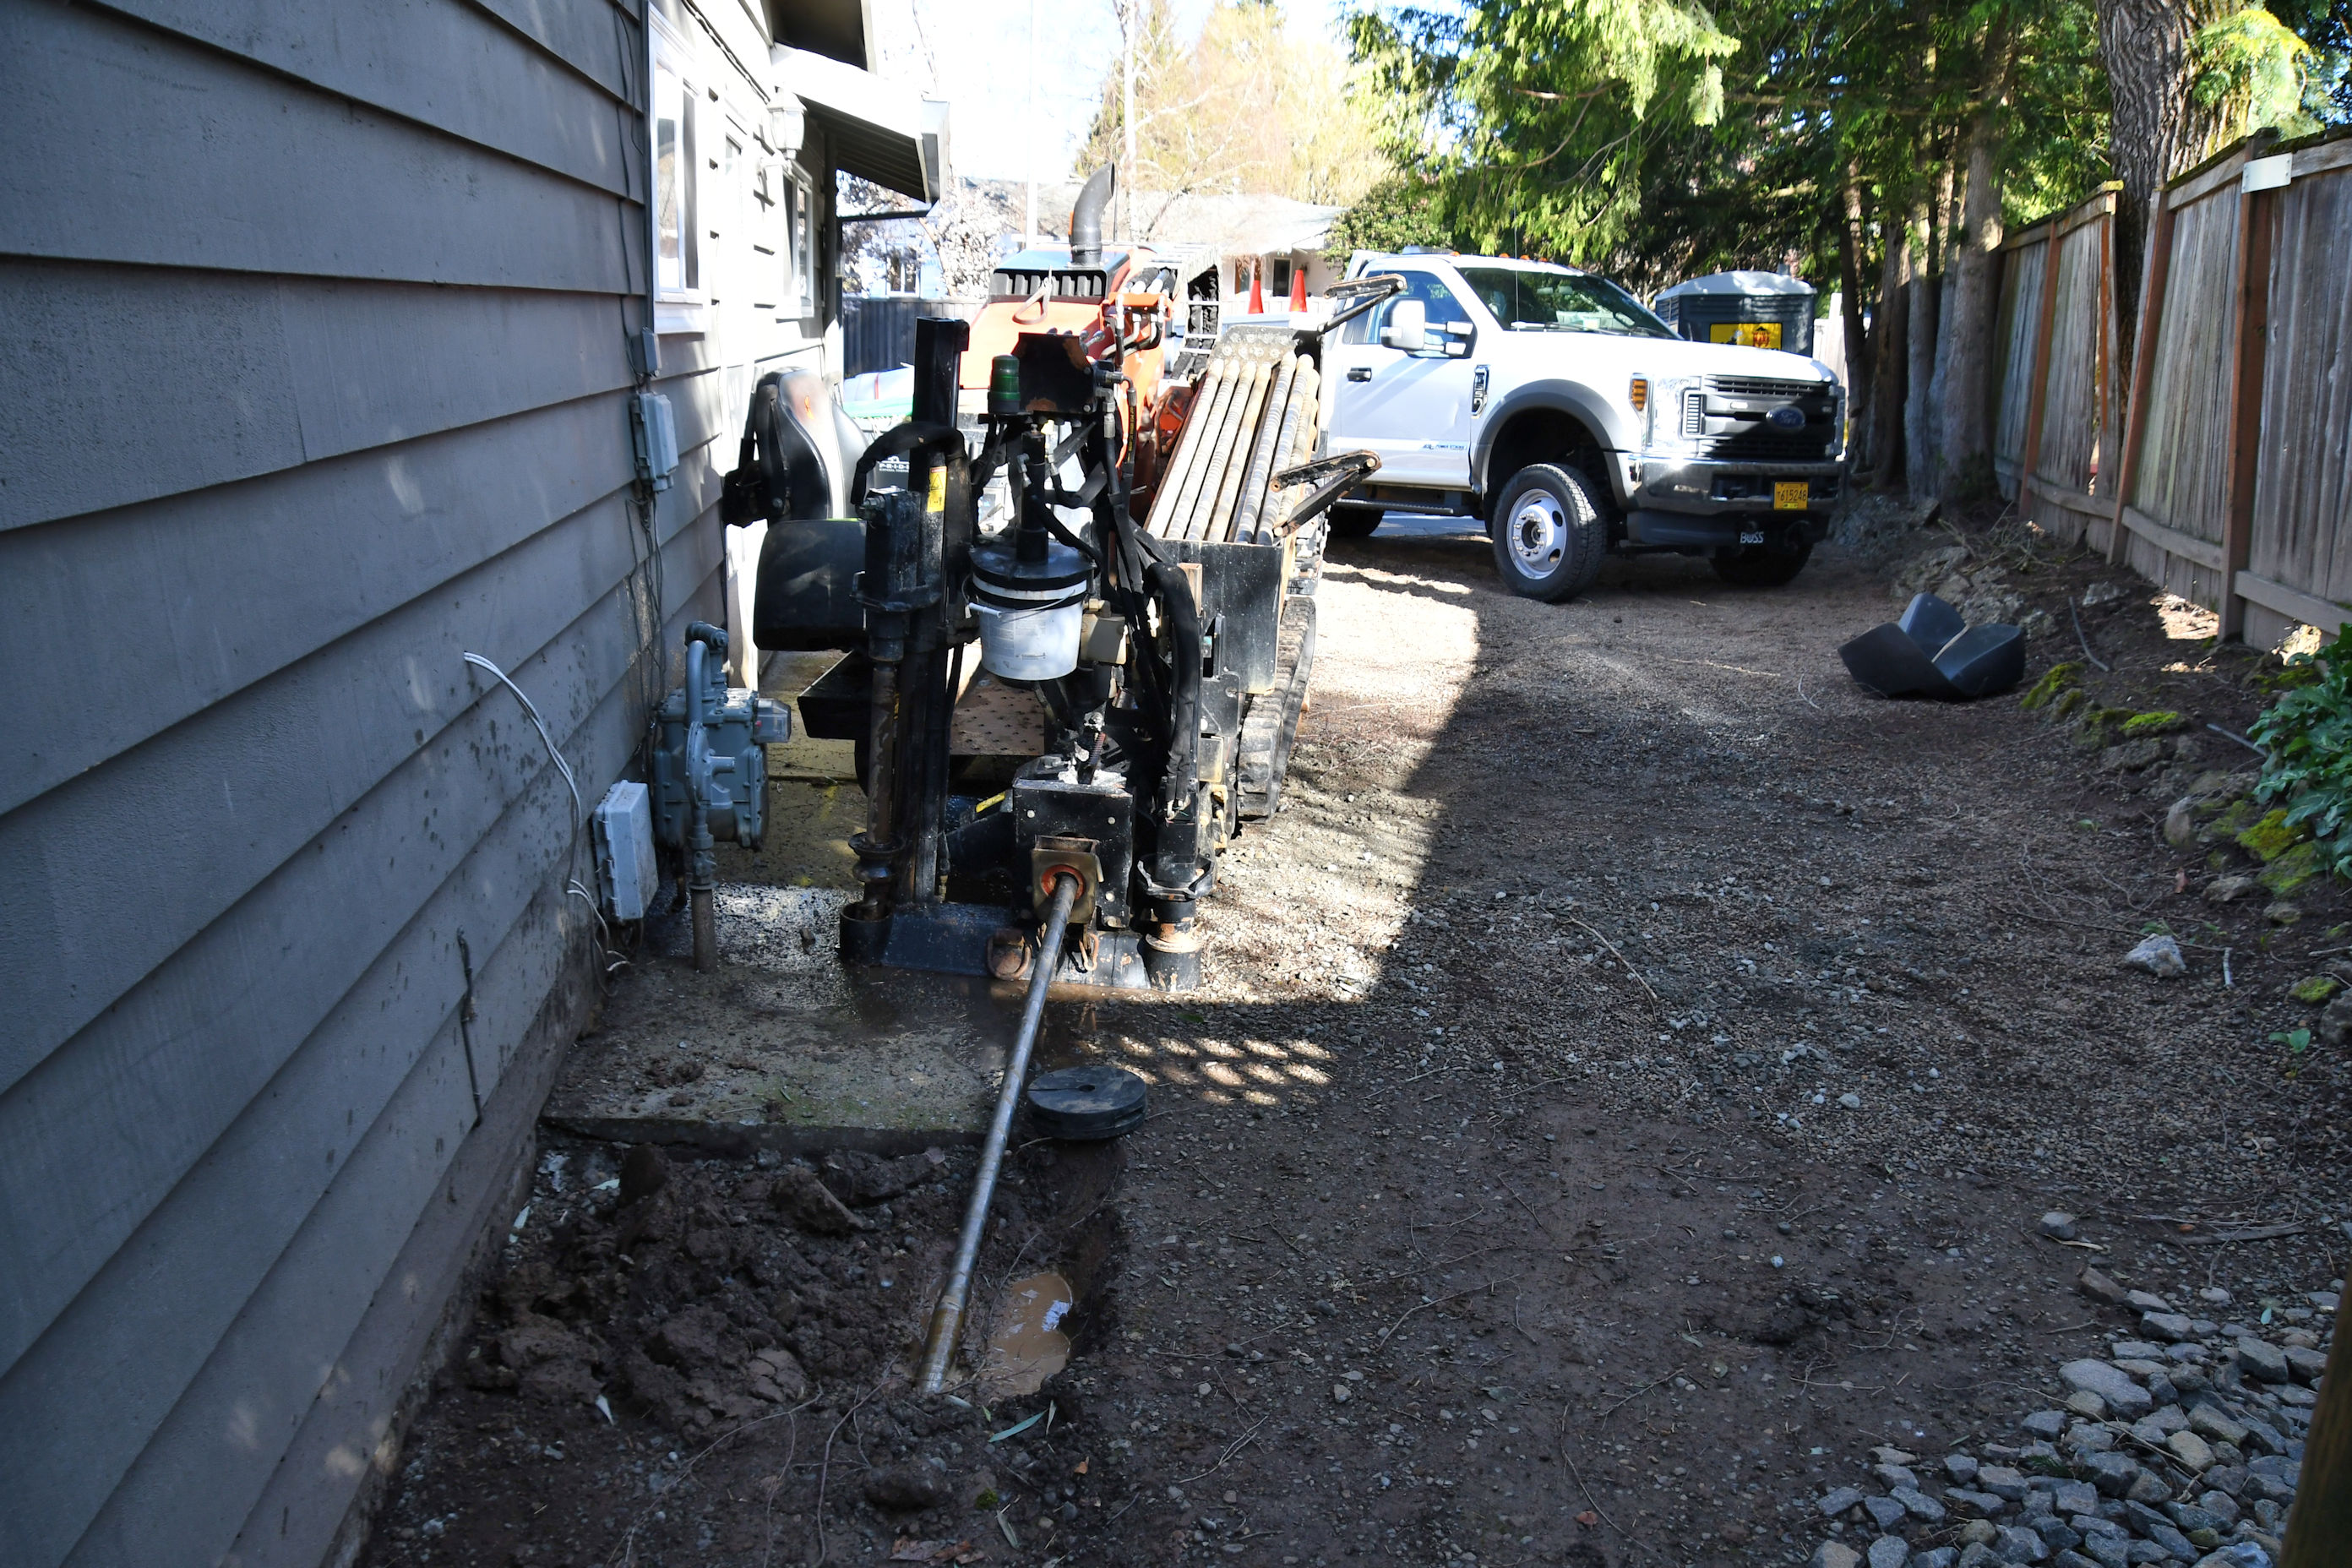
Peter, and his son, Jordan, from JK Directional Bore, Inc. showed up and got the job done in about two hours. I was amazed. They started right next to the house, where the electrician would eventually be pulling a line out from the fuse box, and sunk the drill. They then pushed it down to a depth of two feet below the surface, and drilled approximately 100 feet under all the stuff in the back yard, then curved it back up, and pushed it to the surface right next to the proposed wall of the shop. It was perfect.

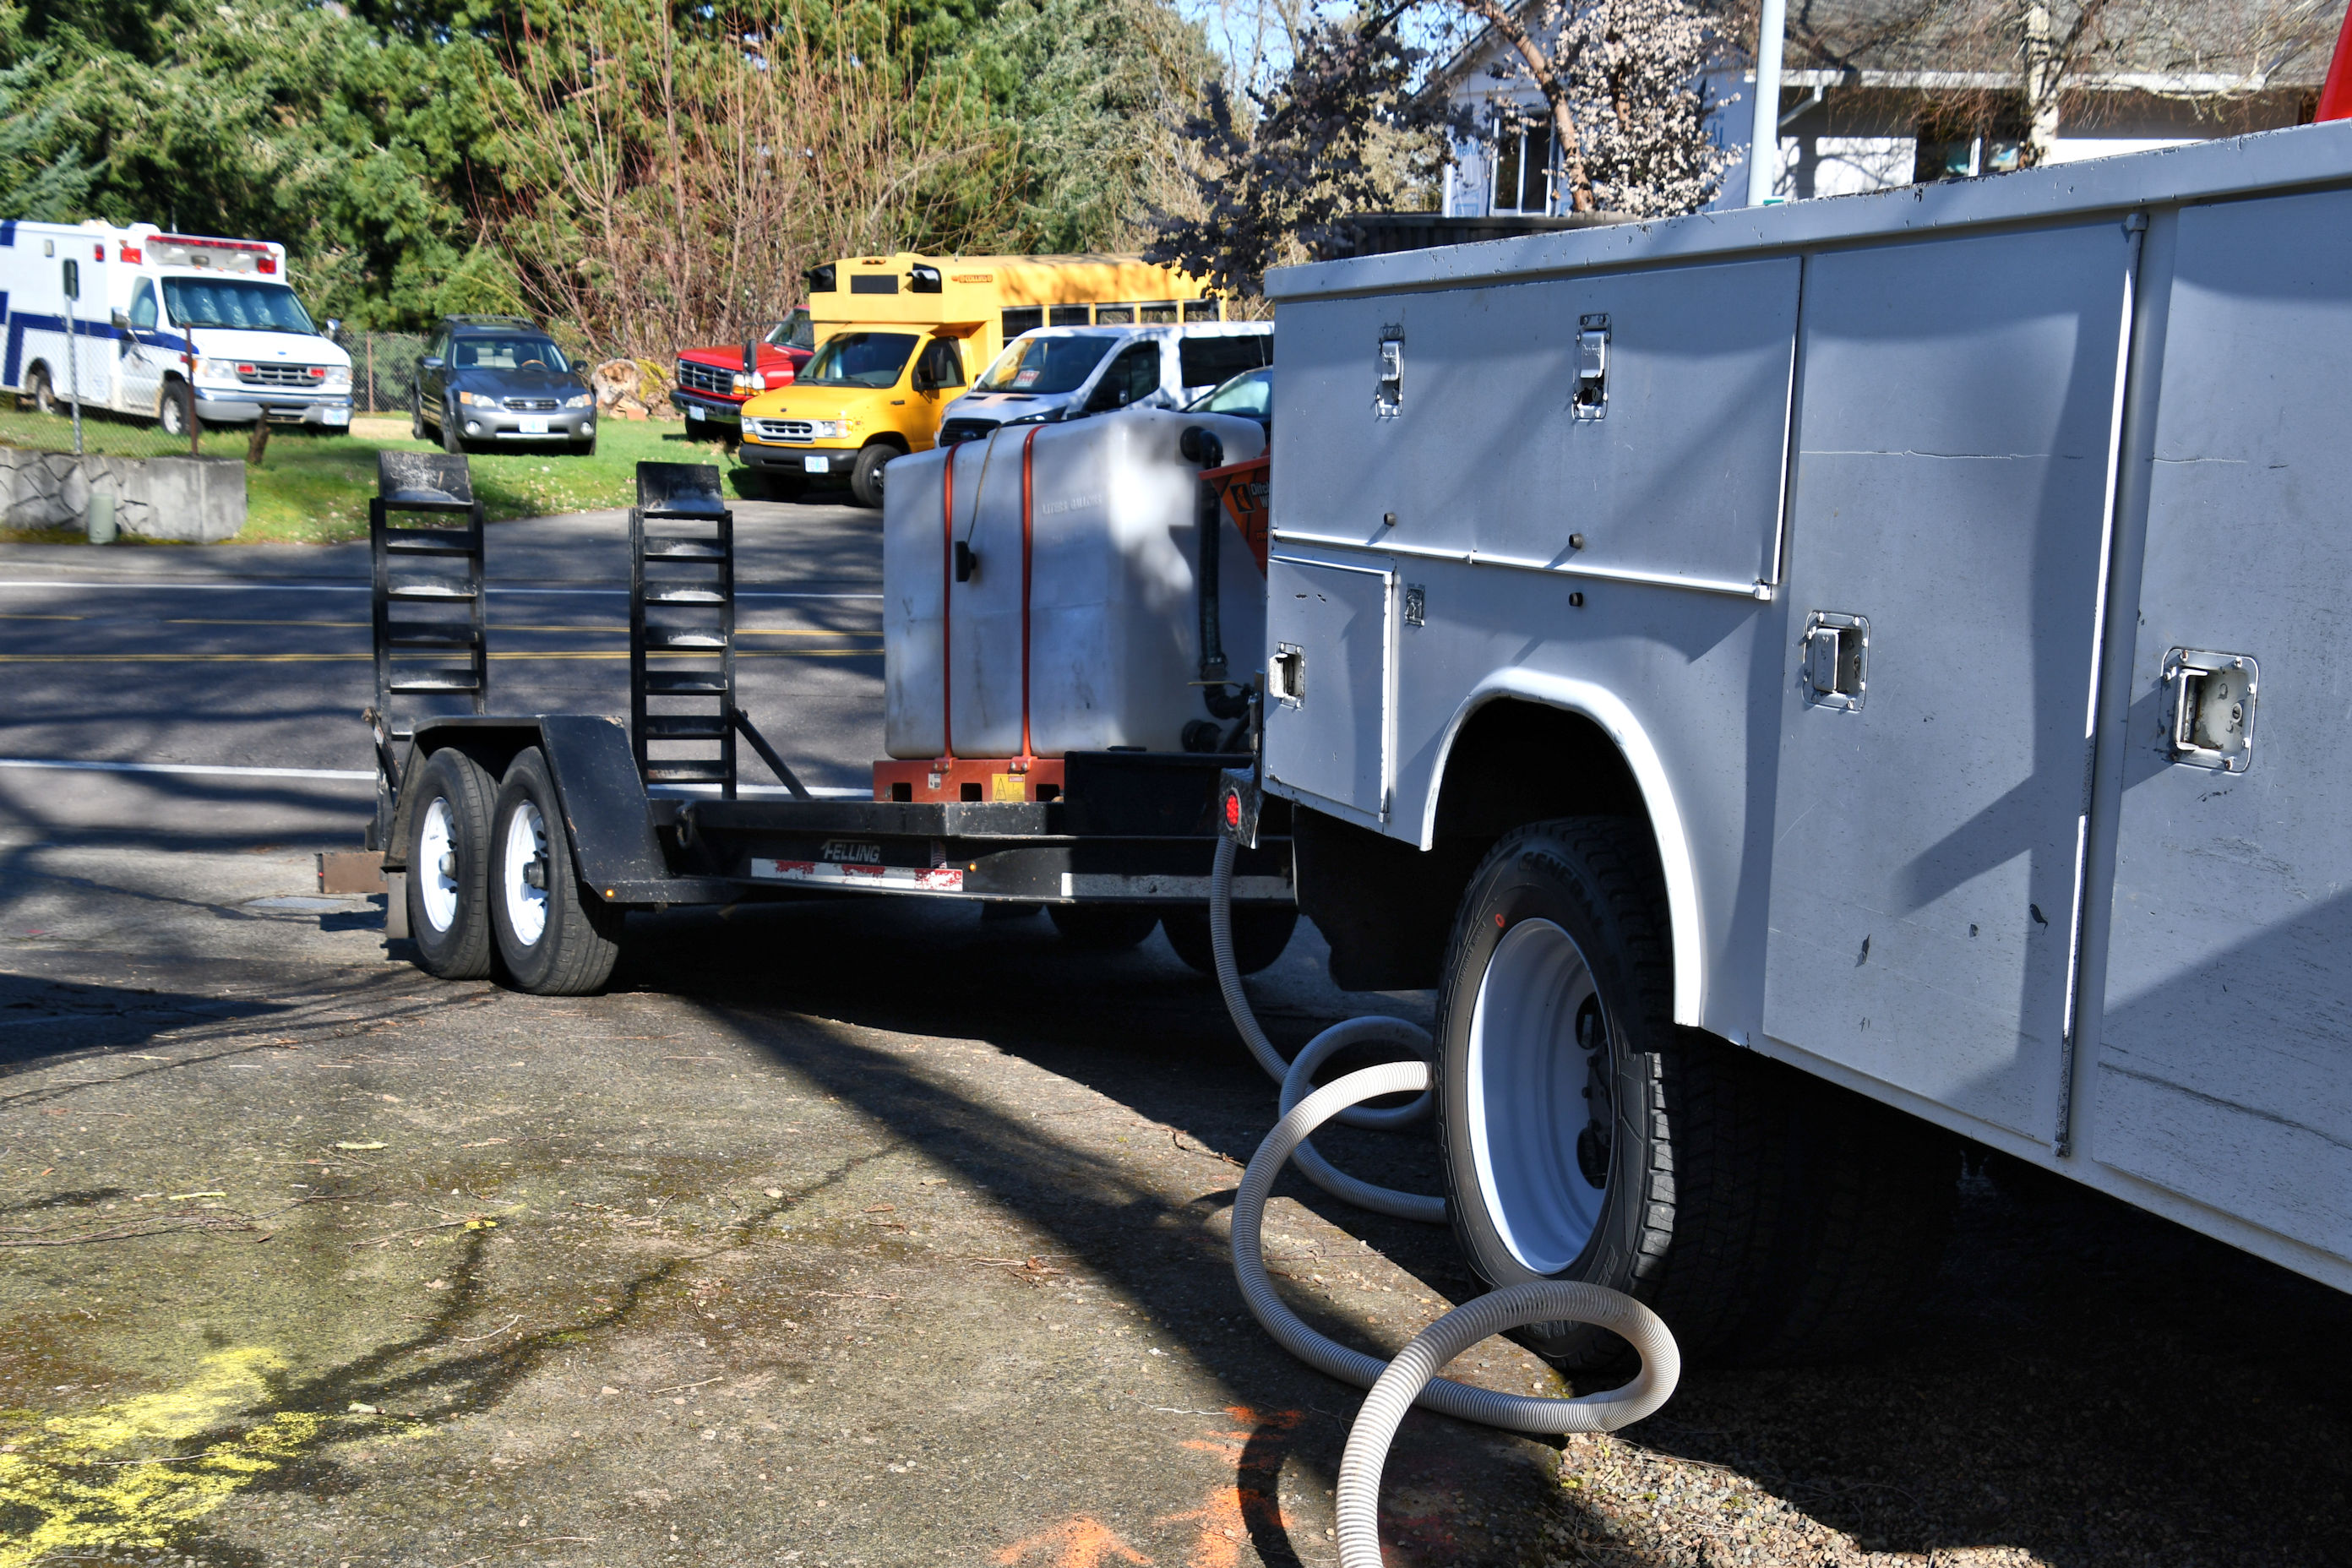
(Oh gosh, don’t mind my neighbor with the odd vehicle collection. I’m not sure what his plan is with the ambulance and the school bus, and the van, and the truck, and the two cars, and the motorcycles… though, he’s a mechanic, and my guess is that he hopes to fix up and sell several of them.)
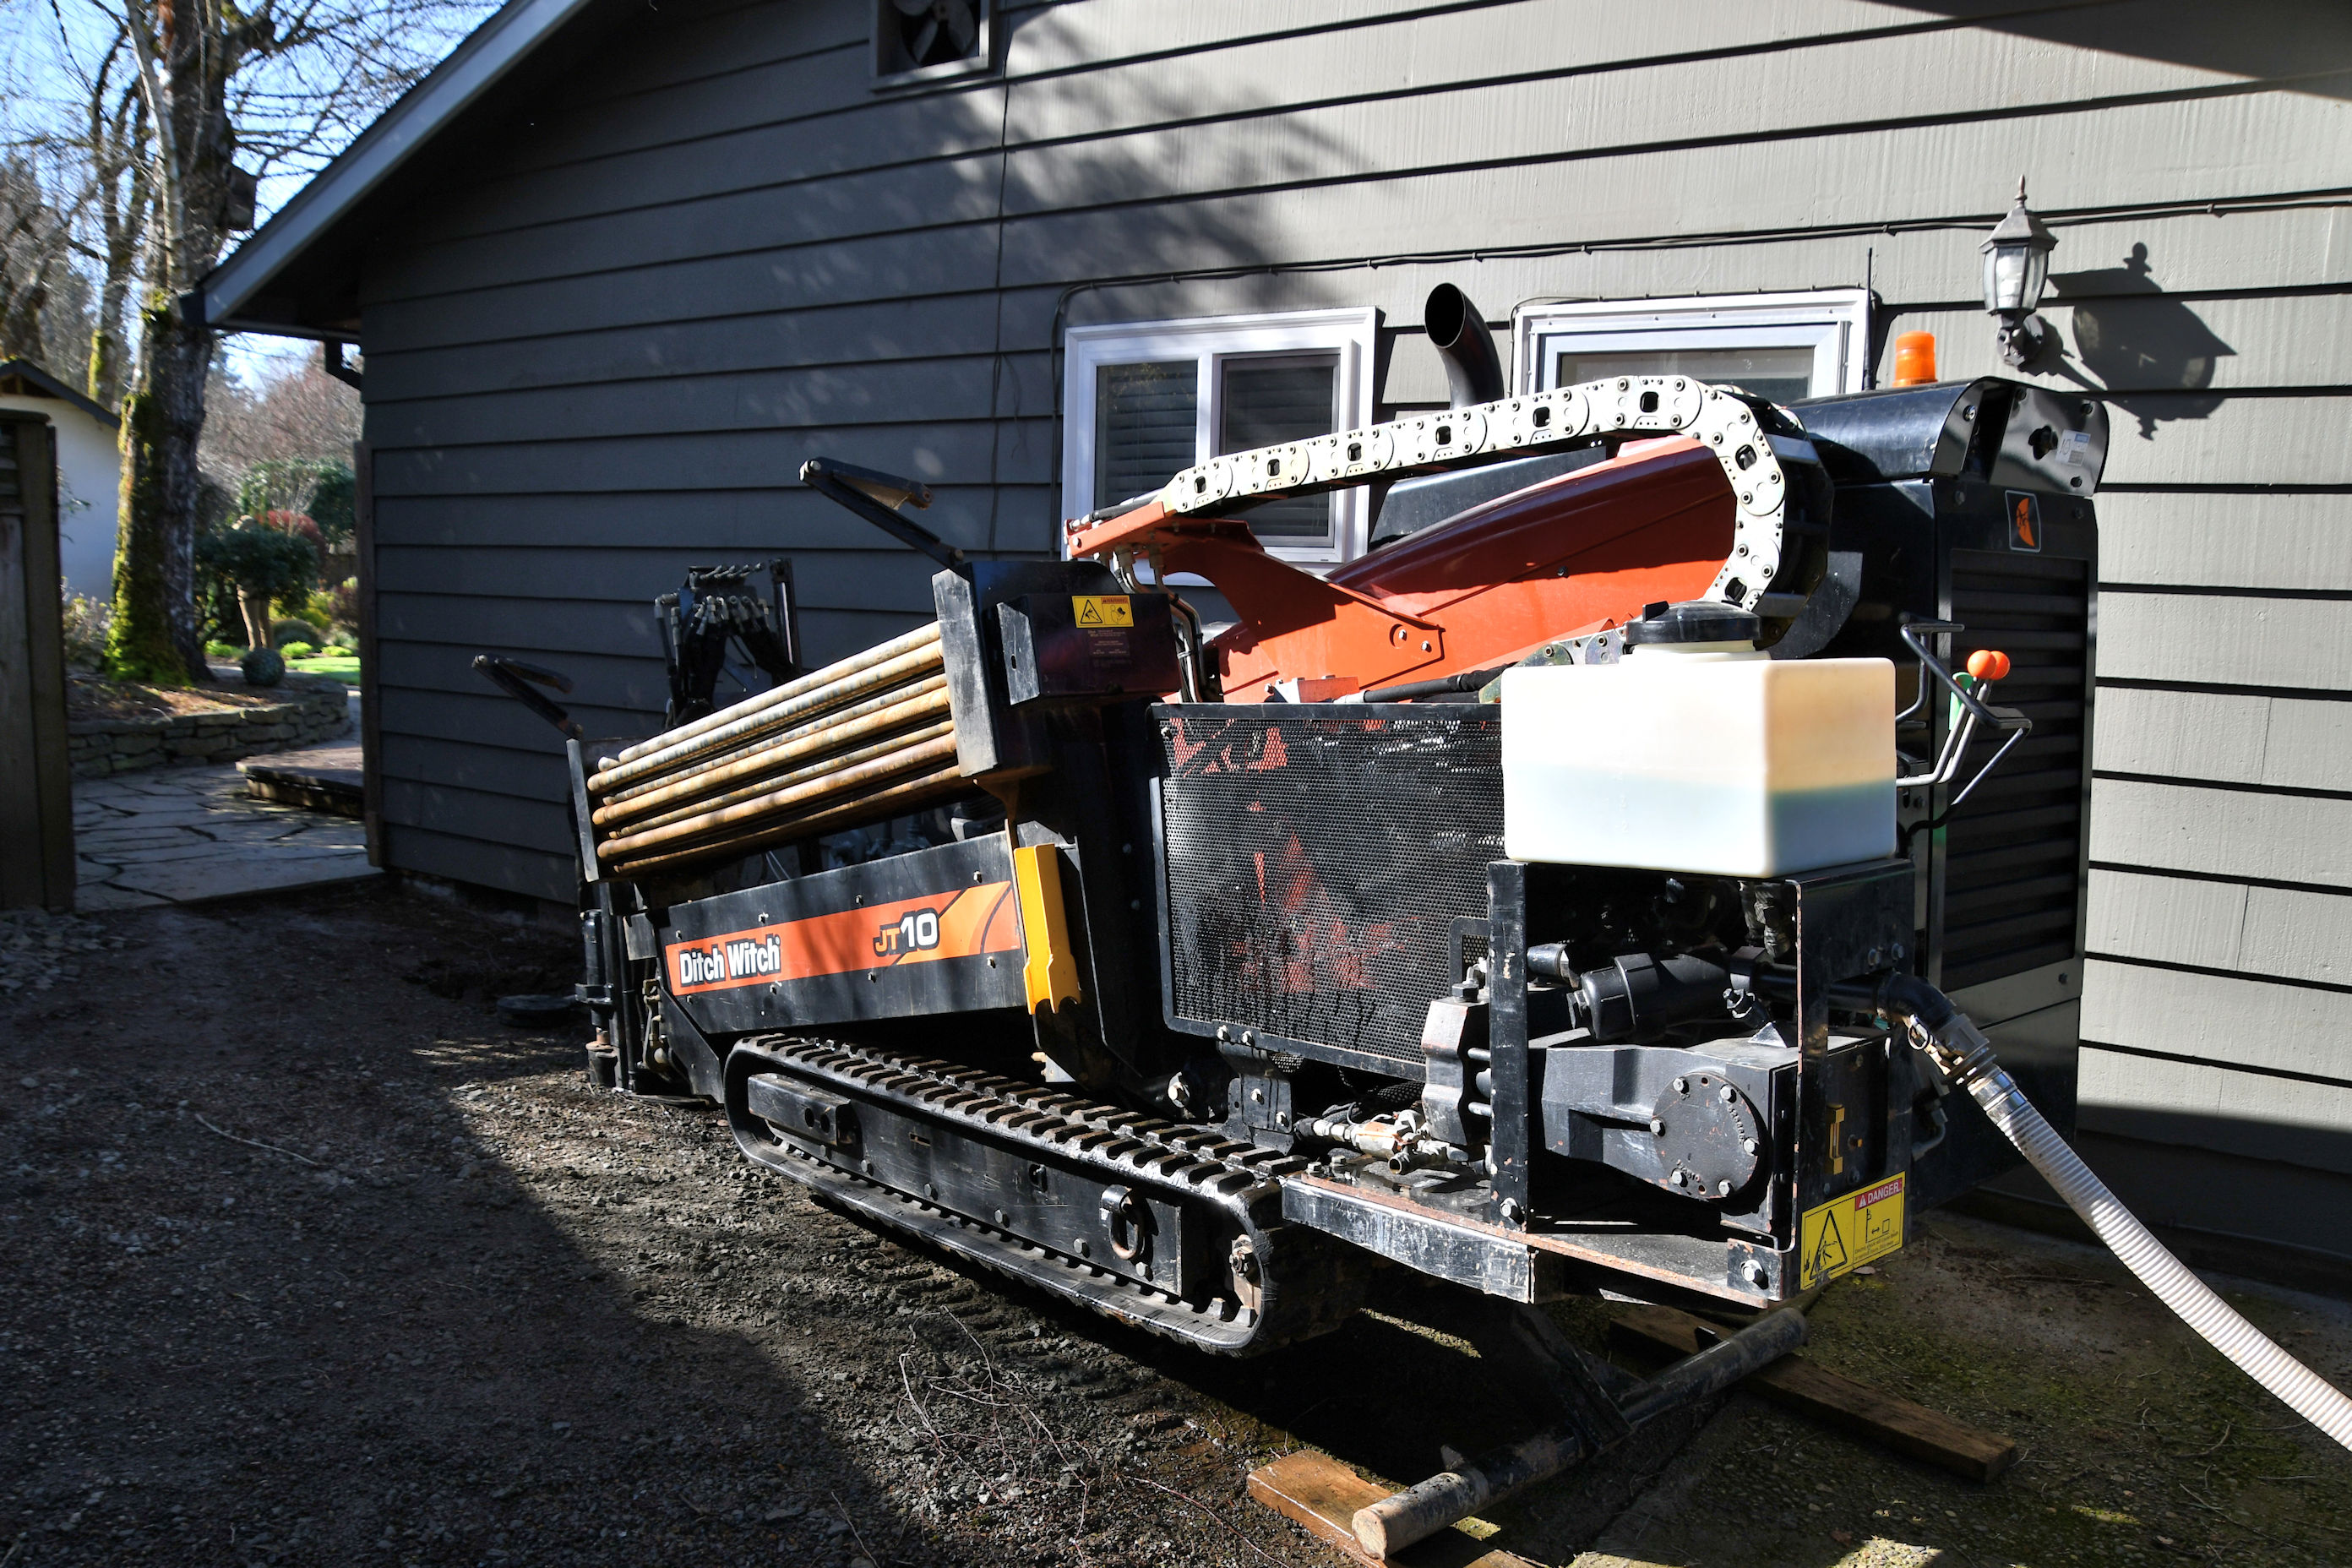
I asked Peter if the machine automatically added new sections of pipe as they were needed. “I’m the automation,” he said. “Want to see?” Of course I did!
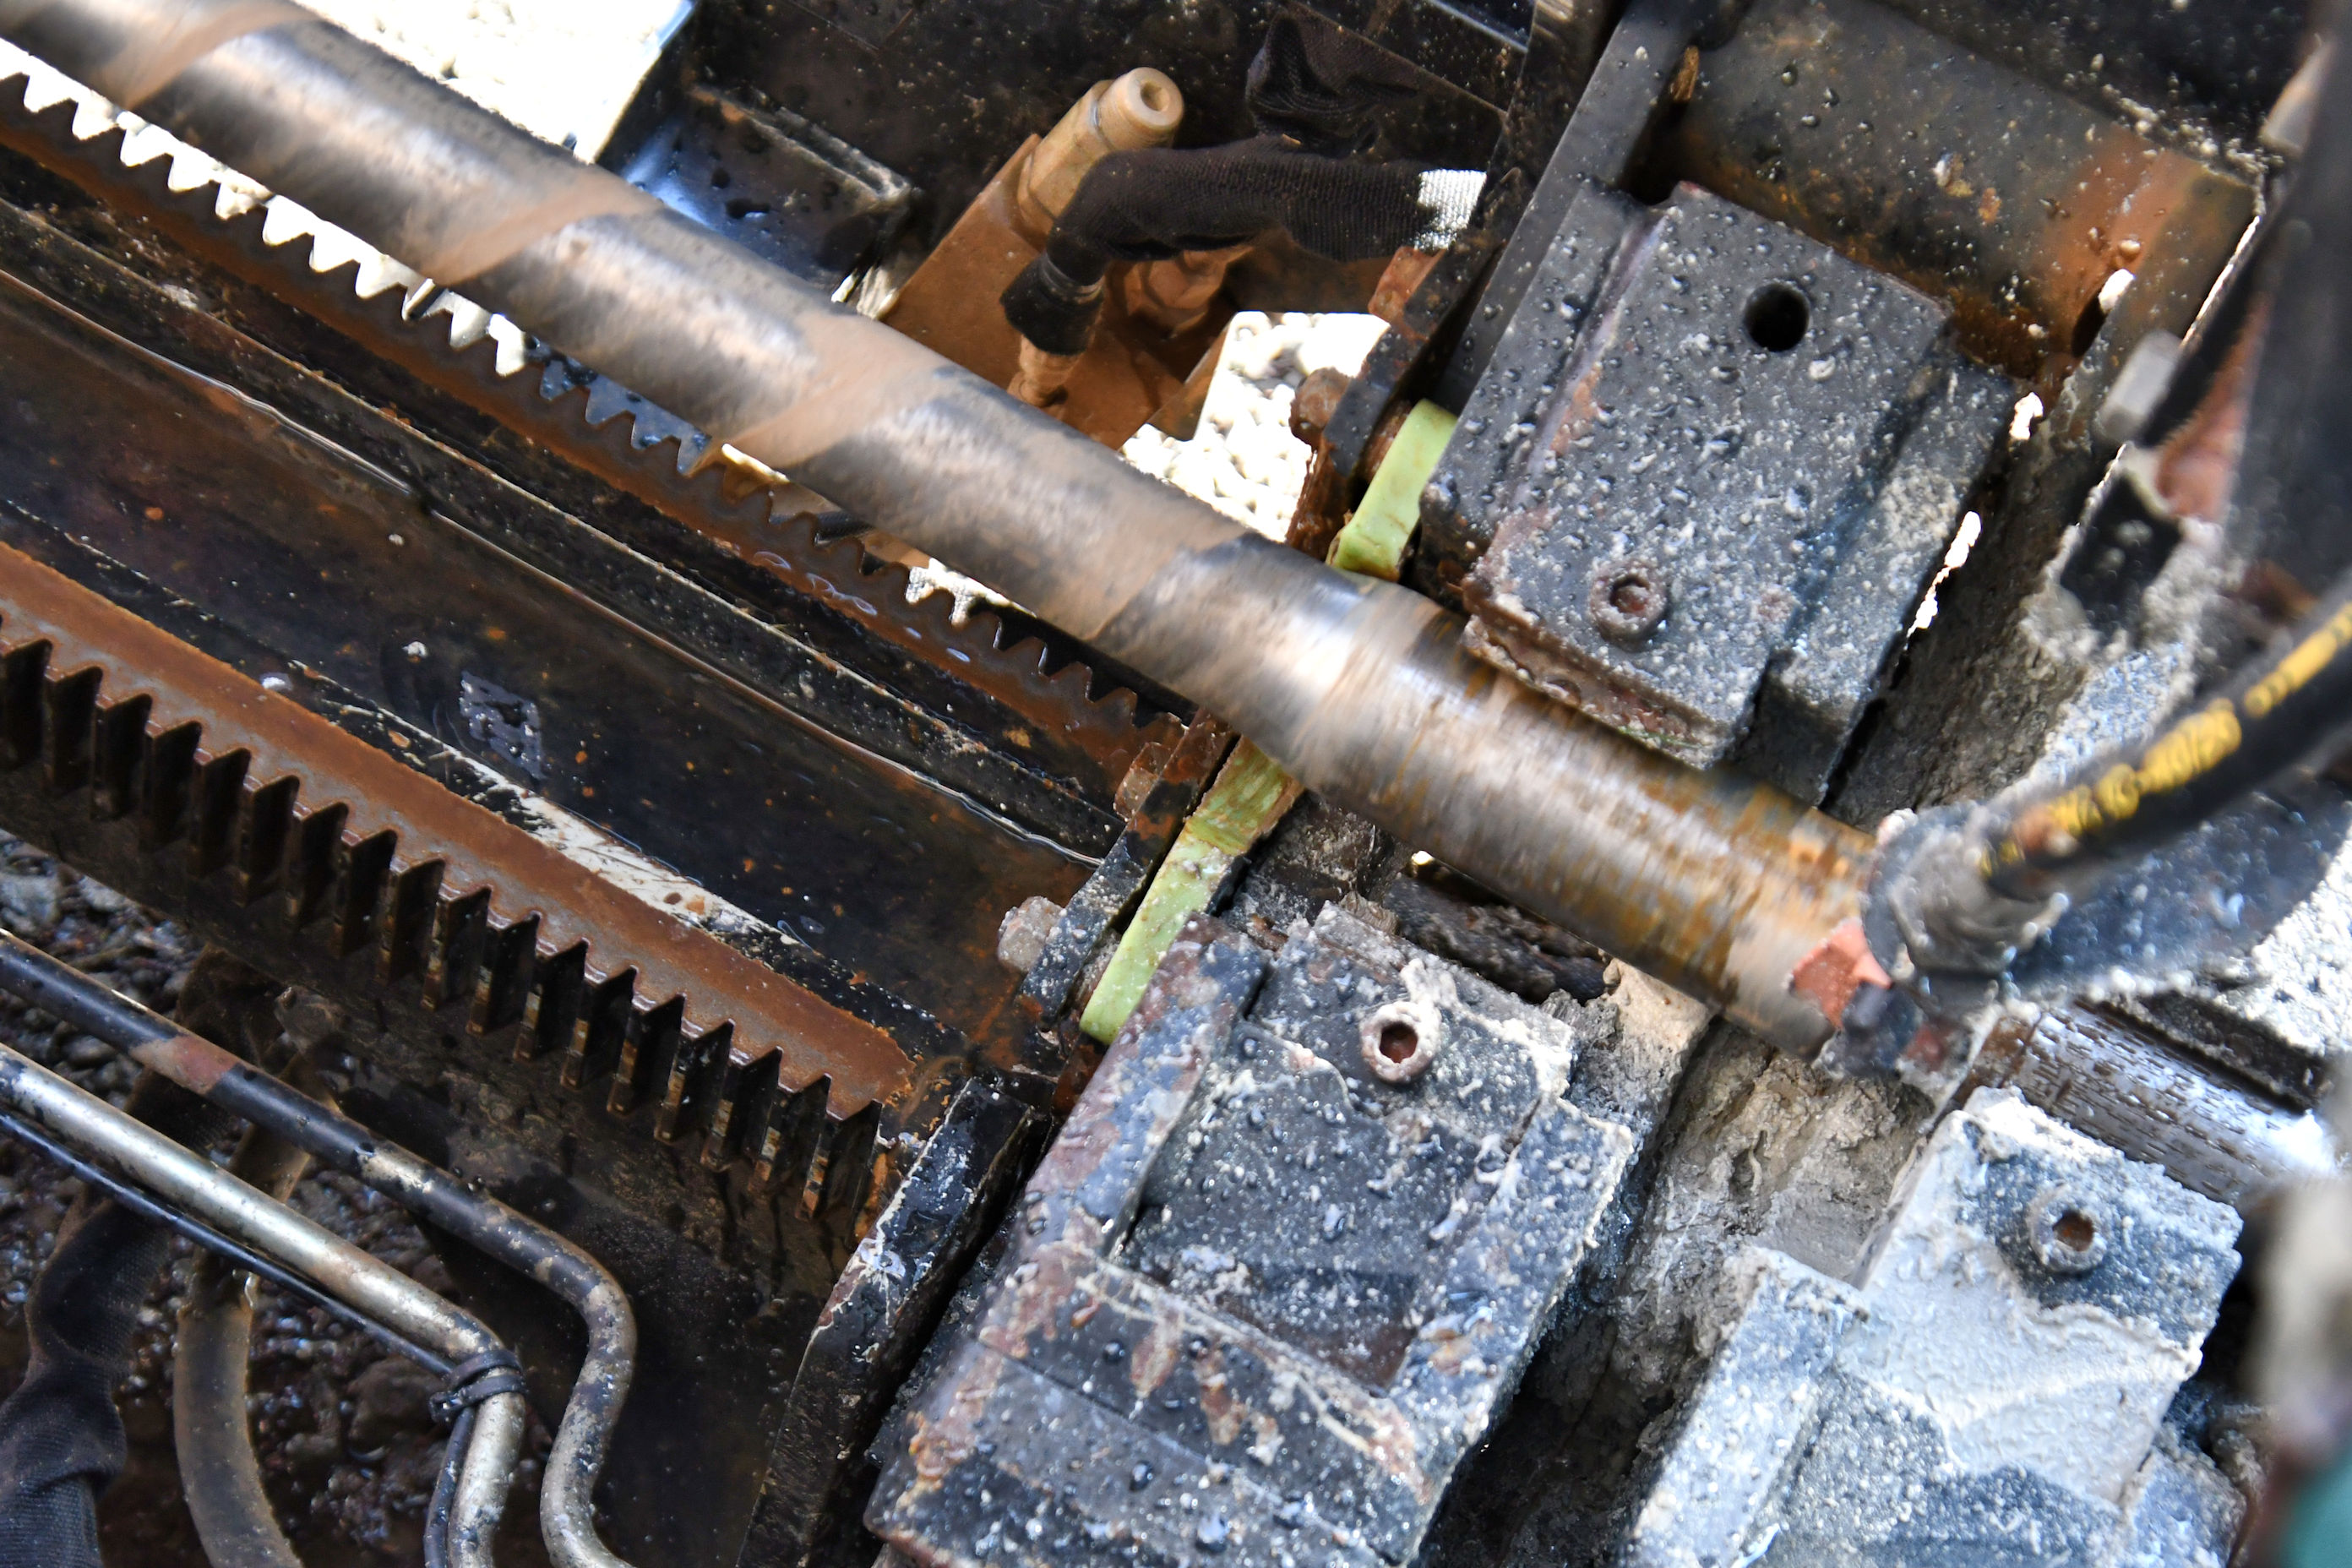
The Ditch Witch twists and pushes the pipe (diagonal through the middle of the photo), and it exits at the lower right corner of this view. As a pipe would be almost completely out of the machine, Peter dropped in a new pipe section and the twisting action threaded the next pipe segment onto the exiting one. In the photo above, note the metal clamps angled perpendicular to the pipe. Right between those clamps is where the two pipe segments were just twisted and joined together. As the machine continues to run, the new pipe segment gets pushed out and into the ground. Peter controlled the speed of the progress.
Out in the yard, Jordan, while holding his morning’s coffee, carried a sensor that kept track of the end of the pipe. It reminds me of a stud finder for walls, only this thing was looking down into the dirt.

Jordan used a walkover locating device to keep track of where the head of the drill was. He and his dad used walkie talkies to communicate. On the face of the device, he showed me the digital readout. The leading end of the pipe is like a cupped hand, he explained. When Peter wants it to move forward, the drill twists. When he wants it to change direction, he stops the twisting, and turns the cup in the right direction. On the digital face of the locating device, there is an image of a clock face. The cup face is dialed to 12, or 3, or 6, etcetera, and then held in a fixed position. As the Ditch Witch pushes from behind, the pipe begins to curve in the desired direction. When they have arrived at the correct spot, Peter returns it to twisting, and the drill again moves straight forward.

I had left them for a while, excitedly interrupting Pedro’s work in the at-home office to show him photos. I stepped outside for something else and Peter called over to me, “If you want to take more photos, now is a good time.” They showed me that the drilling was complete, and it was time to reverse the process.
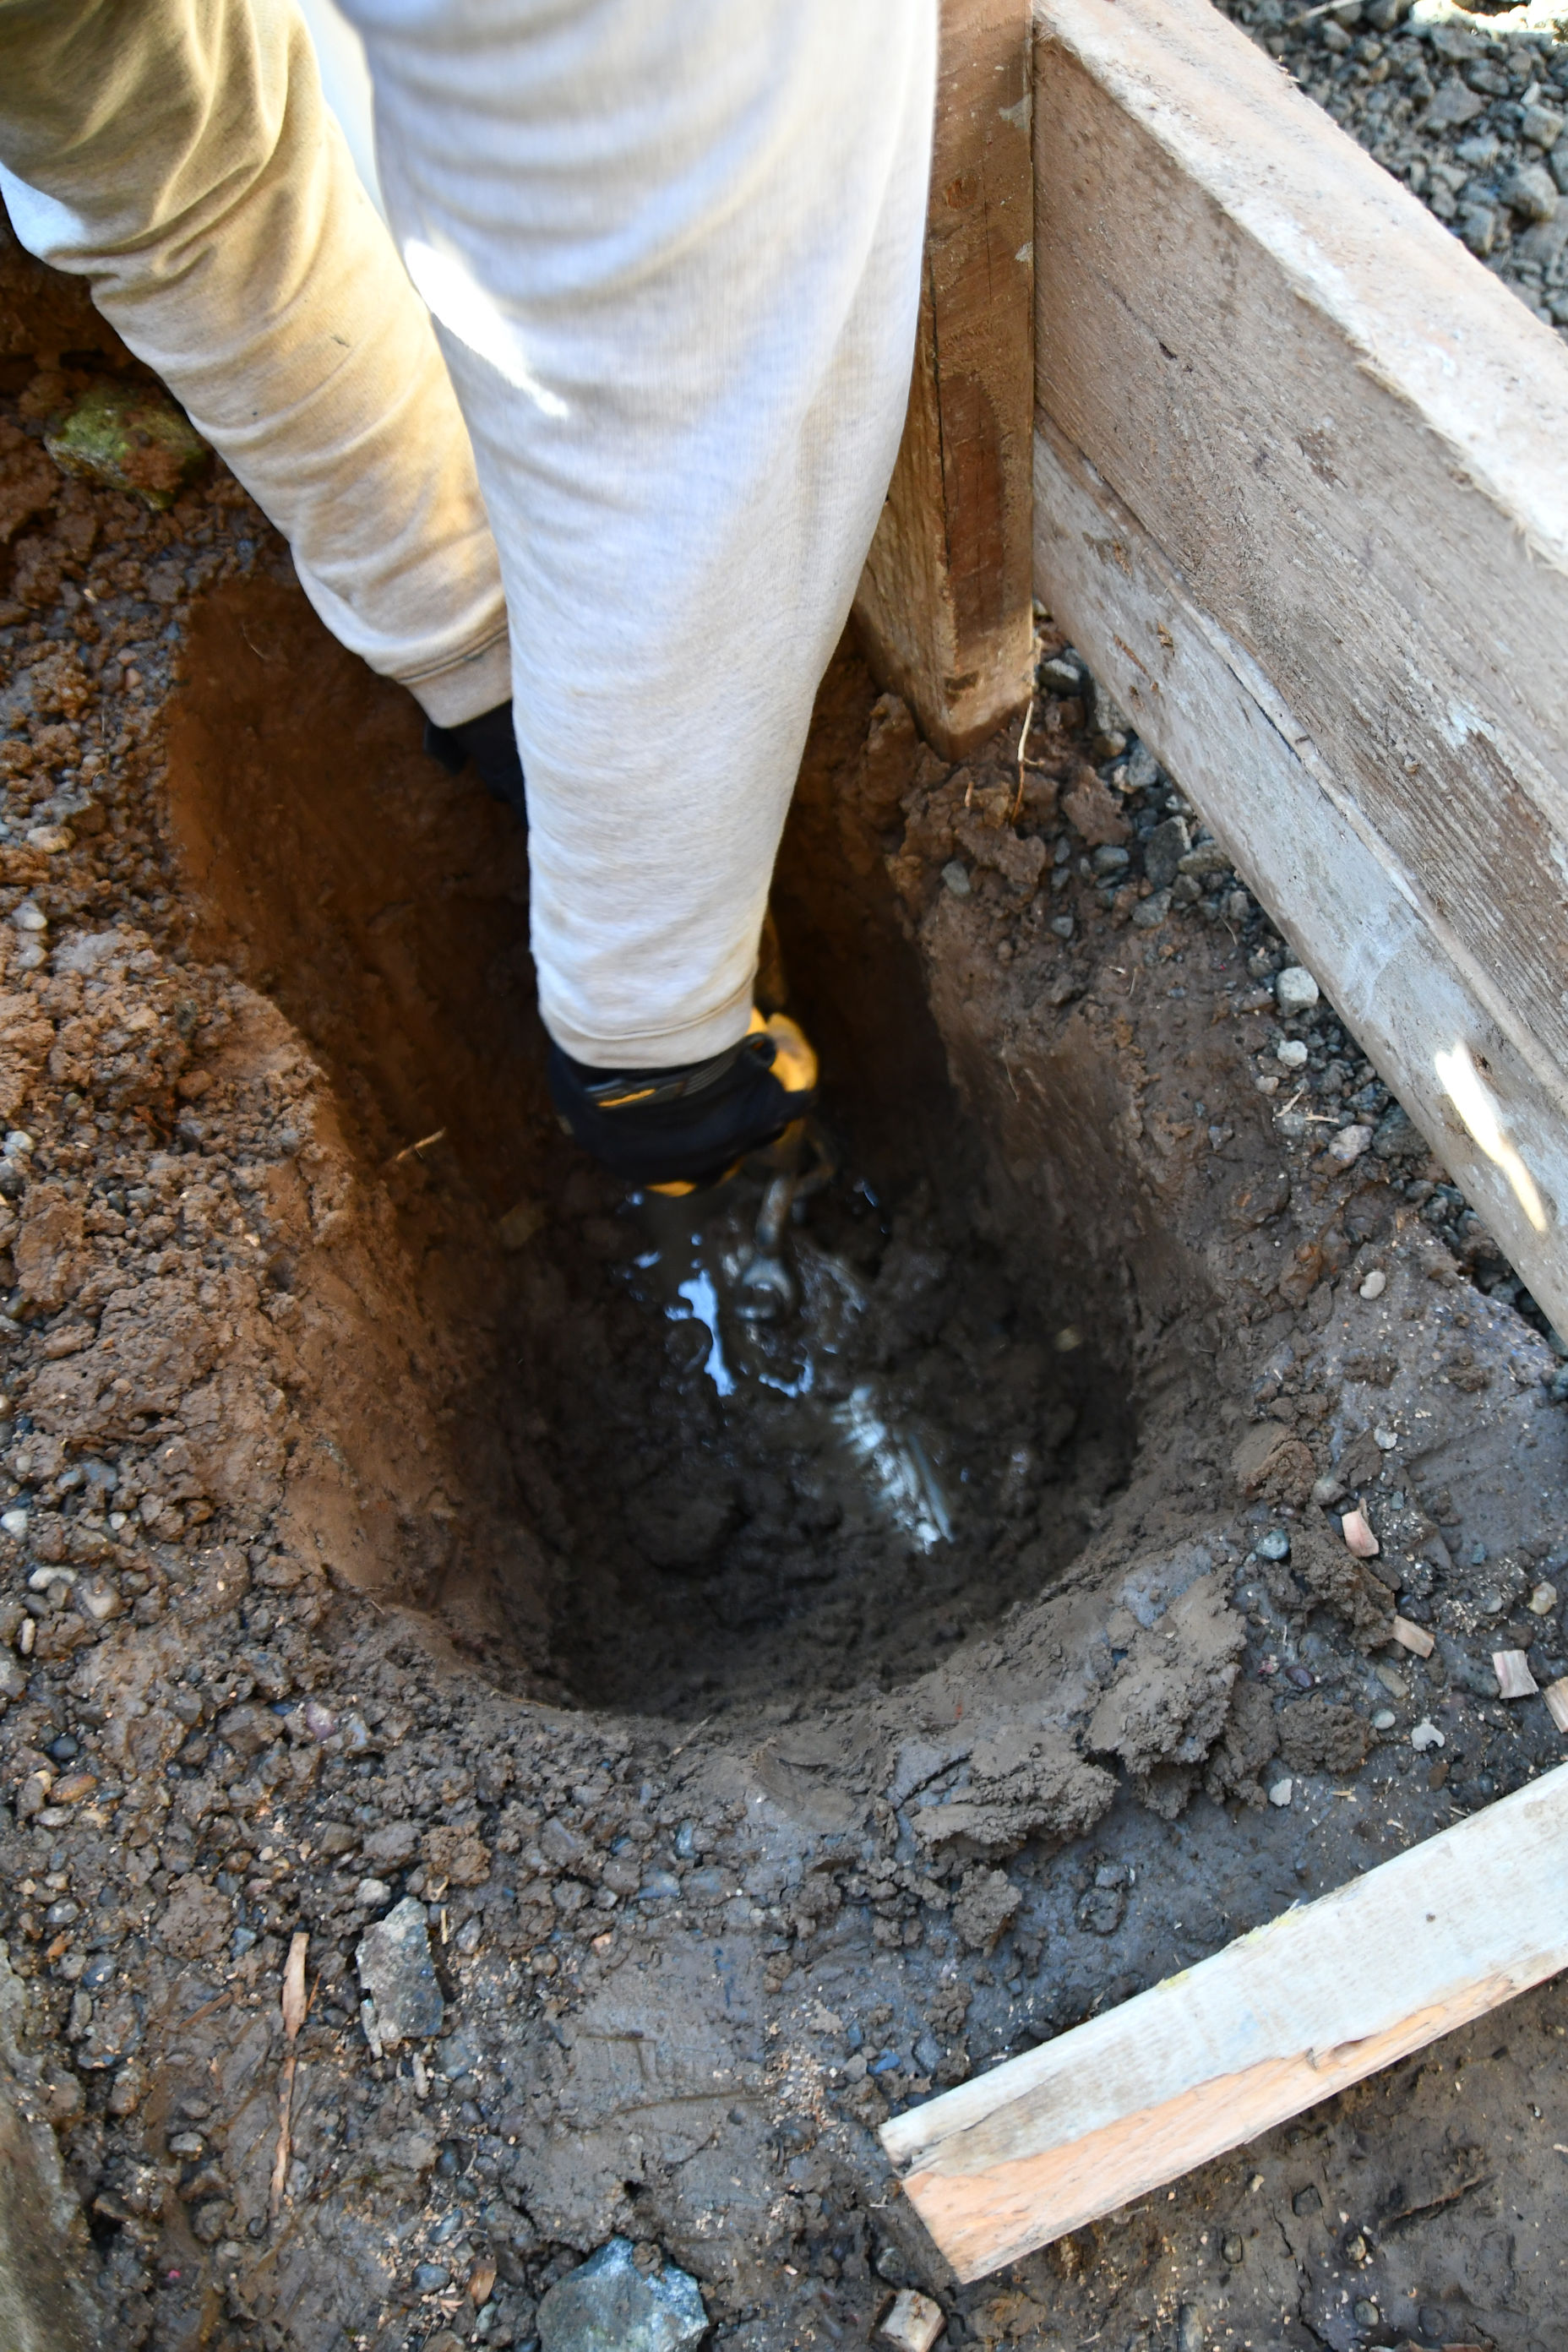

He used his hands to push away the mud and tried to show me the cupped end. I finally did see it, beneath the new apparatus buckled to the end of it now. You can see how they arranged for the drill to come out only inches away from the concrete forms for the shed. So precise a placement. I was really impressed.
A swiveling carabiner thing was attached to the cup end of the drill, then attached to a plug that went into one end of some conduit. The swivels, Jordan explained, were to allow the conduit to twist around inside the hole and not put any strain on the equipment. Once the conduit was tightly connected, Peter reversed the Ditch Witch, and pulled it back through the hole, as he removed pipes on the other end.


I forgot to mention what a beautiful day it was! Sunshine, temperatures in the 50s (around 12 C), it was just gorgeous.

I went back up to the front of the house to see what it looked like there. Nearly all the pipe segments had been removed again. Peter said, “Here, let me clean this off so you can see it better.”


Now, when the electrician arrives, all the wires that need to be run to the very back of the yard can be easily fed into this pipe. Brilliant!

Ok, so that awful metal shed. It’s a classic. I remember my grandparents having these things in the 1970s. In fact, that’s probably how old this one is. It has the outrageously large wisteria pressing in the roof causing a bowl, which has collected water over the years and rusted out completely, leaving a six inch gap in the ceiling, as well as half a dozen additional two-inch gaps. We, naturally, did not discover this until the winter rains began and the inside of the shed filled with water. All the water that had not soaked into all our cardboard boxes stored inside, that is. Ugh.
Anyway, the shed will go. Hopefully this summer. I hope Pedro understands that I plan to commandeer his brand new shop temporarily as a holding place for damp boxes (we replaced all the soaked ones, and patched the holes, but it’s still very wet inside) while we tear this monstrosity out. THEN! When all the bills are paid, I am going to put my personal office out here. Maybe a combo storage/office. I want great big windows so I can watch the birds and squirrels, and a new structure to hold the new wisteria growth, which we plan to chop down significantly this year.
A year ago, when we were house shopping, we agreed on our own personal must-haves. I wanted a yard big enough for a garden and chickens, he wanted a shop. We told each other that a property would still meet our criteria if it was a place where either his must-have or mine could be built there. Well, I lucked out and got a big beautiful yard that already had a garden in place and a greenhouse, and a dog run that was quickly converted into chicken housing. We tried for a little while to re-envision half of the garage as a shop, but it’s not a good space for that and we quickly realized a shop would have to be built. Since I got exactly what I wanted for a new house, it’s only fair that we make this shop a priority for Pedro to get exactly what he wants too.
Naturally, as the project continues, I’ll put up new photos.

Just out of curiosity, what does a project like this cost and how hard were the permits to get?
Deb-B
Hi Deb-B, I’ll PM you. ❤
That’s a fabulous machine. Compromise is always good
Compromise is a good way to go smoothly. 🙂
You have chickens so you are marginally in front but a shed for Pedro makes it fairly even 😁
Quite amazing. Well done
I admit, I was thinking of you the whole time, Derrick. You seem to find home improvement projects as fascinating as I do. 🙂
🙂